Apple makes it easy to mark up a screenshot, and just as easy to redact it unsafely. The built-in Markup tools work fine, but the default highlighter is semi-transparent and the blur-style options don't truly remove the text. This guide covers the correct way to black out personal data in a screenshot on iPhone, iPad and Mac, and when a dedicated tool is the safer bet.
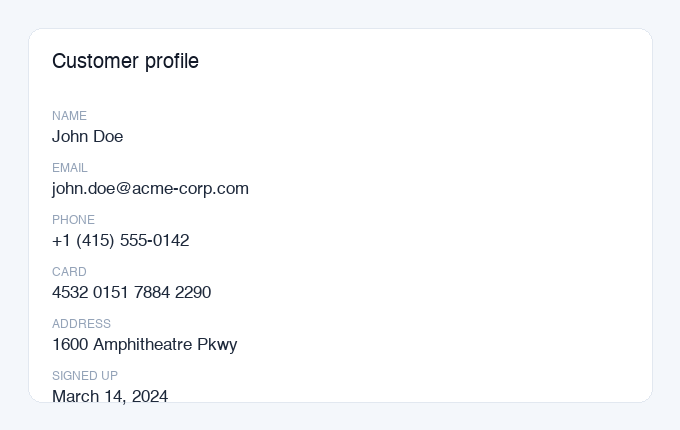
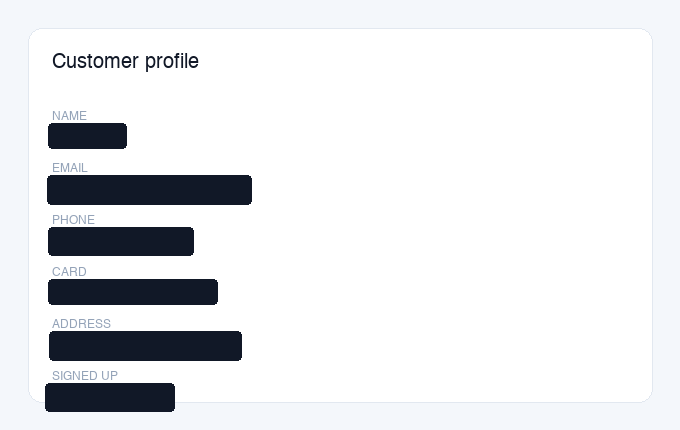
Redact a screenshot on iPhone and iPad
The Markup tools in Photos can redact safely, as long as you use a fully opaque mark:
- 1. Open the screenshot in the Photos app and tap Edit.
- 2. Tap the Markup icon, the pen tip in the top-right toolbar.
- 3. Pick the solid pen (the first tool), not the highlighter. Tap the color dot and choose black.
- 4. Cover each field completely. Scribble back and forth until the text is fully hidden, edges included. For a cleaner box, tap the +, add a filled Square shape, and set its fill to solid black.
- 5. Tap Done. Photos saves the edit into the image.
Avoid the highlighter. It's semi-transparent by design, so the text stays partly readable underneath. Only the solid pen or a filled shape at full opacity actually hides the data.
Redact a screenshot on Mac
On macOS, Preview's Markup does the same job:
- 1. Open the image in Preview by double-clicking it in Finder.
- 2. Click the Markup button, the toolbox icon near the search field.
- 3. Add a Rectangle from the shapes menu and drag it over a sensitive field.
- 4. Make it a solid black fill. Set the fill color to black, confirm there's no transparency, and set the border to none.
- 5. Repeat for every field, then (this step matters) go to File → Export and save a new PNG.
Exporting flattens the boxes into the image. If you only Save the file while the shapes are still editable objects, someone could reopen it and move them aside.
The mistake almost everyone makes
The single most common leak on Apple devices is the highlighter. It looks like it covers the text, but zoom in and the characters bleed through. The second is trusting a blur. iOS and third-party apps often offer a blur brush, and blurred text, especially short predictable data like a card or phone number, can be reconstructed. If it isn't a solid, opaque fill, treat it as not redacted. There's more on why in is pixelation reversible?
The faster, safer option: redact online
Marking up field by field is fine for one screenshot. For anything with a lot of personal data, like a full customer record, a chat thread or a dashboard, it's slow and easy to miss a field. Privshot reads the whole image, finds names, emails, phone numbers, cards, addresses and IDs automatically, and covers them with solid boxes you can adjust. It runs in the browser on iPhone, iPad and Mac alike, needs no account, and discards the image right after processing. You get the same irreversible result without hunting for every field by hand. See the full step-by-step guide for the details.
Don't forget the metadata
Redacting the visible pixels isn't always the whole job. Photos taken with a camera carry EXIF data, including GPS coordinates, and some exports embed a thumbnail of the original. Re-exporting a fresh PNG strips both. We cover this in how to remove personal information from a photo.
Frequently asked questions
How do I black out text in a screenshot on iPhone?
Open the screenshot in Photos, tap Edit, then the Markup pen icon. Choose the solid pen, set its color to black, and cover each sensitive field completely. Tap Done to save. Avoid the highlighter, which is semi-transparent.
Is the iPhone Markup highlighter safe for redaction?
No. The highlighter is semi-transparent, so the text underneath stays partly readable. Use the solid pen or a filled shape at full opacity, or an online tool that overwrites the pixels.
How do I redact a screenshot on a Mac?
Open the image in Preview, click the Markup toolbar, add a filled rectangle over each sensitive field with a black fill and no transparency, then use File → Export to save a flattened PNG so the boxes can't be moved.
Can someone recover redacted text from an iPhone screenshot?
Not if you used a fully opaque mark and saved the edited image, because the pixels are overwritten. It stays recoverable if you used a highlighter, a blur, or a movable box that was never flattened.
In short
On iPhone and Mac you can redact safely with the built-in Markup tools. Use a solid pen or filled shape at full opacity, never the highlighter or a blur, and export a flattened copy on Mac. When there's a lot to hide, an online tool that finds and boxes every field is faster and harder to get wrong.